Create Micro pages
User Guide for Creating and Managing Micro Pages
This guide will walk you through the process of creating, customizing, and publishing micro pages using Shrinkit, as well as tracking their performance.
1. Create a Micro Page
Steps:
-
Log In: Access your Shrinkit account using your credentials or through your Zid, Salla, or Shopify accounts.
-
Access Micro Pages:
- Click on Store from the main menu.
- On the left-hand side, select Micro Pages.
-
Click on Create New Page.
-
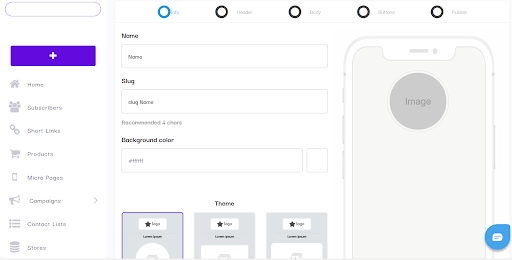
Set Up the Information Page:
- Campaign Name: Enter the name of your campaign.
- Slug (Optional): Enter the slug (the last part of the URL). If you don't provide a slug, it will be automatically generated.
- Background Color: Choose a background color (default is white).
- Theme: Select the theme (default is "Single Rounded Image").
- Tag and Media Source (Optional): These fields are optional and are used for filtering and reporting.
- Click Next.
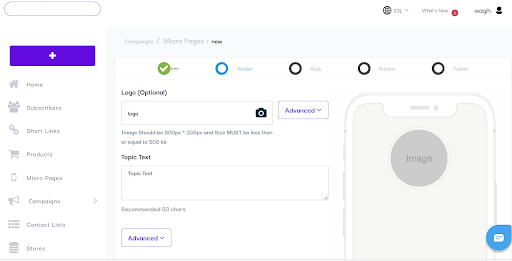
- Customize the Header:
- Logo/Topic Text: You can add a logo or topic text that will appear in the header of the micro page.
- Advanced Settings: Use these to change the background and text colors. You can also add alternative text that appears if the image fails to load.
- Click Next.
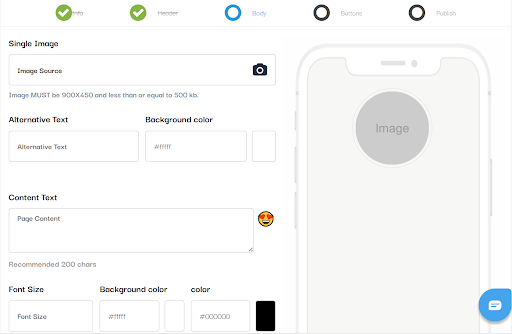
- Set Up the Body:
- Upload Image: Upload a single image (900x450px, up to 500 KB).
- Content: Add alternative text, adjust the background color (default is white), and enter content text that appears below the image (minimum 5 characters).
- Click Next.
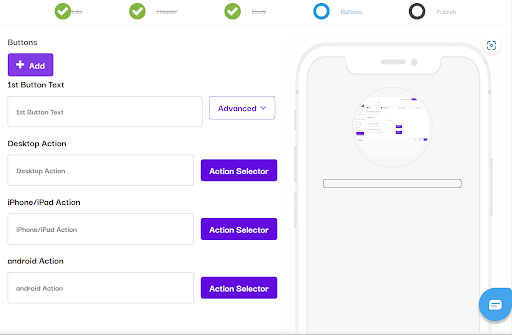
- Configure Buttons:
- Add Button: Click on Add Button and fill in the button text.
- Actions: Specify actions for different devices (desktop, iPhone/iPad, Android):
- Desktop: Can open pop-ups, send emails, or perform other actions.
- iPhone/iPad and Android: Directs users to specific actions, like contacting you on WhatsApp or calling a number.
- Click Next.
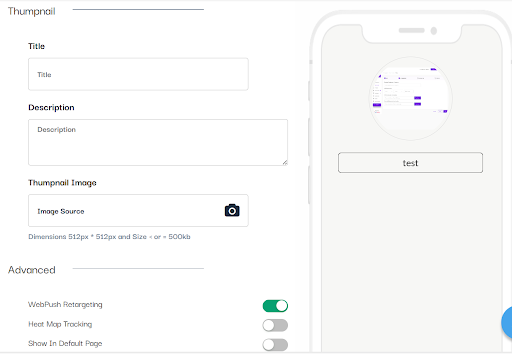
- Publish the Micro Page:
- Title: Enter a title that will appear at the top when the micro page is sent to someone.
- Description and Thumbnail: Fill in the description for the link (Meta data) and upload a thumbnail image (512x512px).
- Click Publish to finalize and make your micro page live.
2. Track Clicks and Performance
Steps:
- Access Micro Pages:
-
On the left-hand side, click on Micro Pages to view the performance of each page.
-
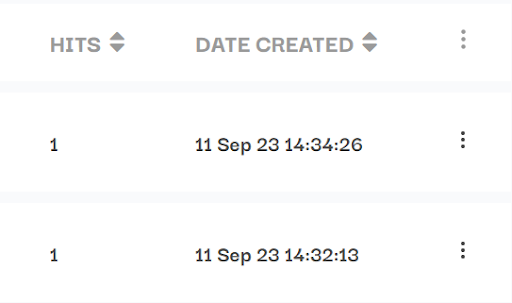
View Analytics:
- Check the number of hits (clicks) for each micro page.
- Use the drop-down menu (three dots) to select Analytics for detailed reports on clicks, device types, and conversion rates.
By following these steps, you can easily create, customize, and track the performance of micro pages using Shrinkit. This allows you to engage with your audience effectively and measure the success of your campaigns. If you need further assistance, don't hesitate to reach out to our support team.